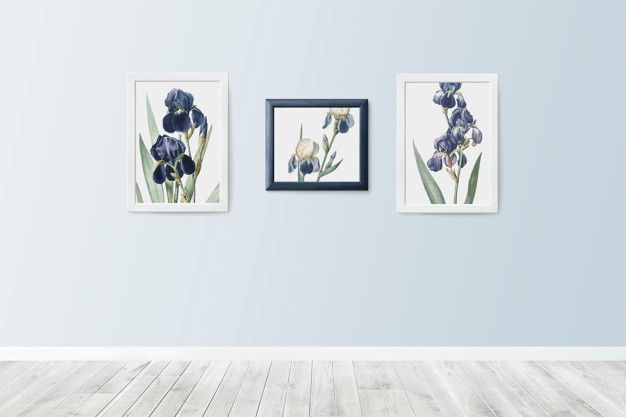
Design Your Own Wall Art with Few Easy Steps Right Away!

Want to revive your home and your own metal art collection? You can get it done by choosing the decorative tapestries to custom wall art to original prints to bring walls to your life. Whether you're fed up with bland and staring walls or want to present a beautiful and memorable gift to your loved ones. You can go online to find the best art piece or can request to create metal art that helps you give a unique and lovely look to your walls.
Step by Step Guide to Create Wall Art for Your Decor
The very first step for creating an ultimate gallery wall is designing the wall art by yourself. Pick from dozens of designs, sizes, and materials to create perfect home decor. It helps you create a little last-second inspiration; keep on reading the guide to know the step-by-step process to make wall art for your decor with few simple and easy steps.
Step 1: Upload Your Art or Photos
The first step for creating wall art is to upload all your photos or images that you want to get embedded into the magnet mounted metal art piece. It's also beneficial and helps you create a stress-free and personalised experience. Organize your images in an easy-to-find folder, also make that images are of high quality for metal art printing.
Step 2: Pick a Template or Design of Your Choice
Search for hundreds and thousands of different designs and styles to find a masterpiece that is just perfect for your decor. Some of the popular types that you can consider are panoramic, modern, collages, galleries, kids, pets, etc. You also need to take several images available in every layout; make sure to select the design that can accommodate all pictures you want to include in your metal art poster.
Step 3: Choose Your Size, Paper, and Frame
You can easily customize your wall art as little or large as you want. You can shop for a personalised poster with a glossy and whimsical finish. You get a chance to choose from different size options such as 20″ x 16″, 36″ x 12″, 12″ x 12″, 24″ x 36″, 20″ x 30″, 10″ x 14″, 16″ x 16″, 10″ x 8″, 24″ x 10″, and many more. Most types of wall art can also be ordered with a matching frame if wanted.
Step 4. Personalize
Add your image to the project, but make sure that it's cropped perfectly. You can use a photo editor to make the necessary edits to bring the project to your life. You can also choose to change the background captions, colours, and more while making settings at the initial level.
Step 5. Preview Your Project
Once everything gets completed perfectly, make sure to preview your project. There must be no single spelling mistakes, incorrect cropping, or any such mistakes before moving to the final process. It helps you to mark every micro mistake that can make your personalised picture look inadequate for your walls.
Step 6. Order Away!
After completing the preview process, it's the right time to place your wall art request. Add your wall art project to your cart, but if you want to make any changes, then visit your cart and make needed changes right away. Don't forget to apply for an offer or special codes; check everything once again before making the final submission. Also, don't forget to check the billing and shipping information before placing the order.
Concluding Note
Getting personalised metal art with your favourite family photo or beloved per is now made more comfortable. You can shop different sizes and types of stunning and high quality customized magnet mounting posters to give a fabulous look and feel to your interior and exterior. You can create your custom wall art, no matter small or big, by following the above-listed steps.
Source: vip number hub

